Mokuhanga prints and the continued travels down a rabbit hole
An explanation
2020 was a huge disruptor for the world; it was the year COVID reared its ugly head and in Melbourne we had some of the most rigorous lockdown measures in the world. So, after nearly a year together in lockdown with our 2 adult-children they both decided to move out at the end of 2020. One into a share apartment with 2 others, and one into a share terrace house – hey if you need to spend your 24/7 time at home it’s much more fun to live with people your own age not your parents. So, 2021-2022 was the beginning of our journey into finishing the renovations of our house and putting it up for sale.
2021 was filled with artwork and renovating but by December all of my time was spent renovating (artwork needed to be put on the backburner). Full time renovating continued till April when the house finally went up for sale. While there were ‘open for inspections’ all my regular art materials were packed away in storage so I needed to pursue an art form that could easily be packed away and not make too much of a mess. Here begins my journey into Mokuhanga print making (Mokuhanga is a term which means the artist does all the processes to produce a woodblock print: design, carve and print). I signed up for online tutorials at mokuhanga-school.jp, ordered my beginners pack from Japan and while I waited for it to arrive, I watched every one of the signed-up video tutorials, the David Bull YouTube channel and went to a short introductory 2-hour class on woodblock printing. The introductory class turned out to be more like linocut printing but with a woodblock; still it was lovely to finally get my hands stuck into carving.
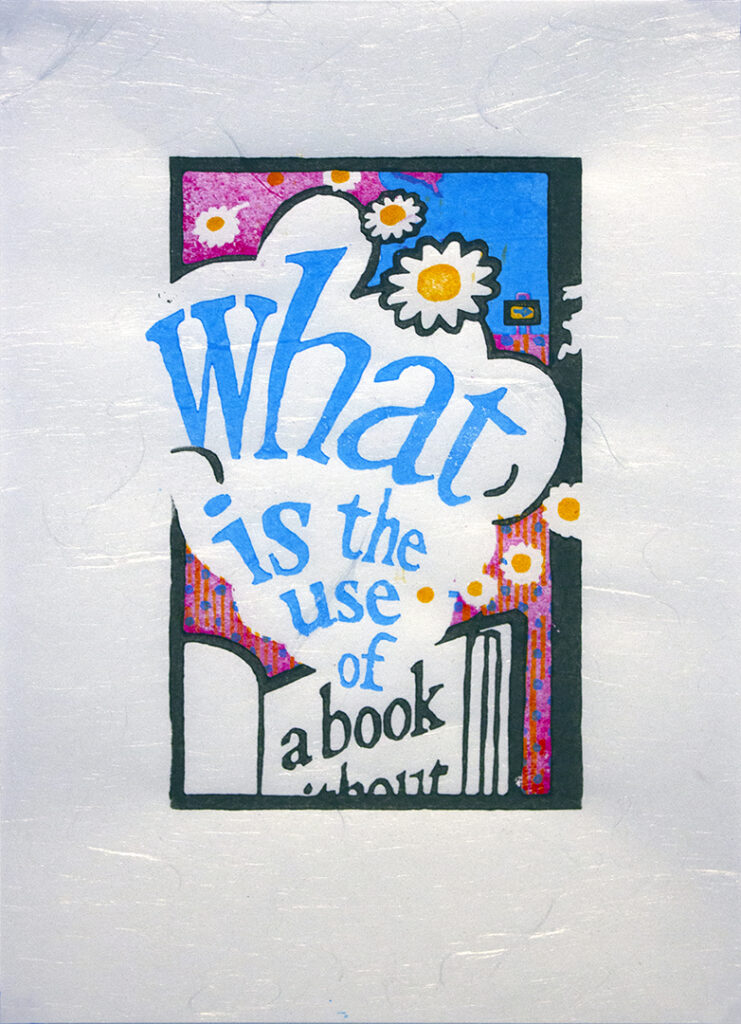
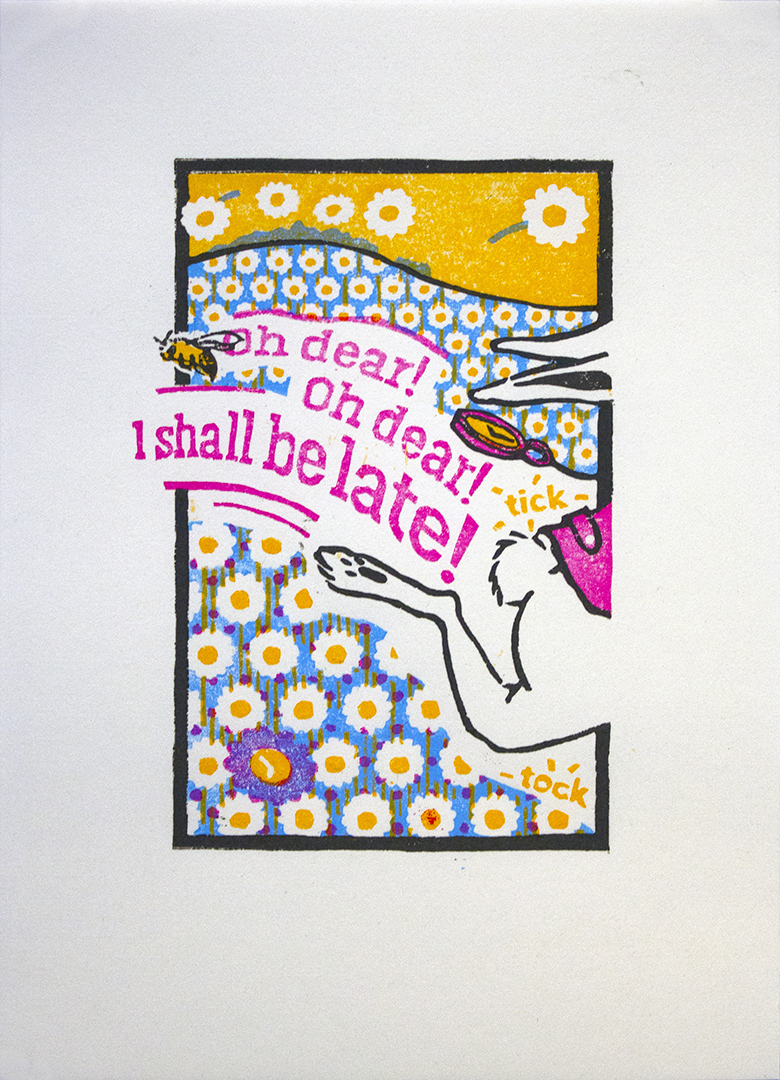
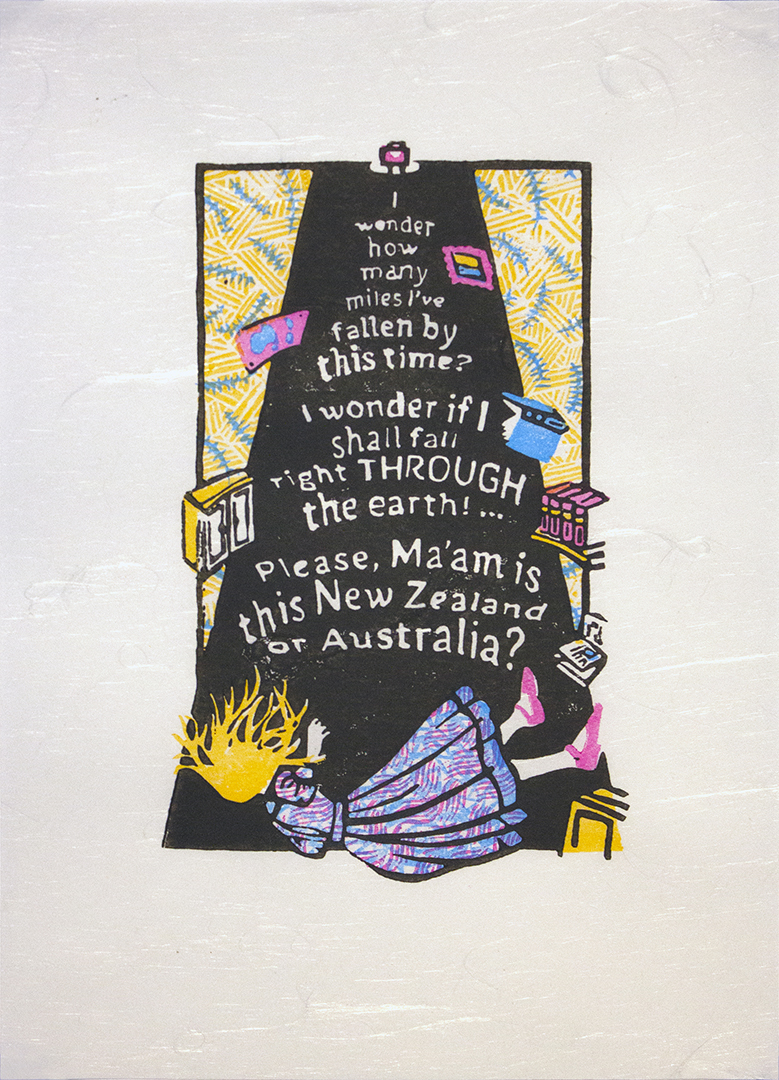
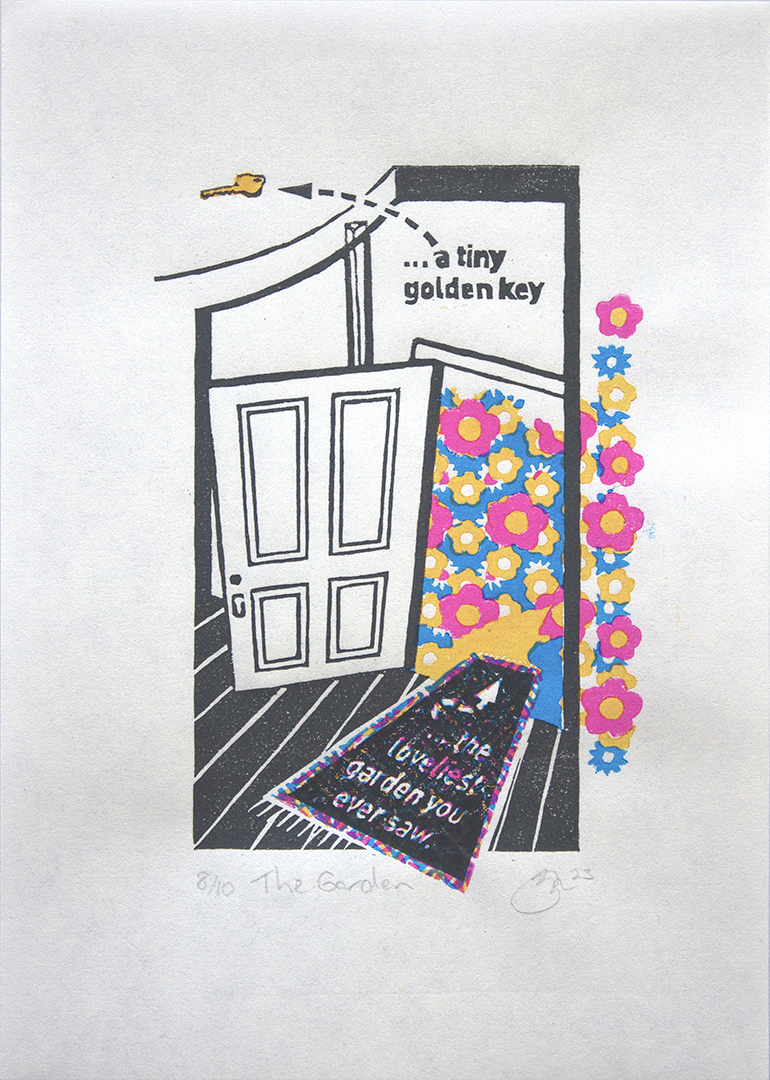
At this time, I’d started to download some free books to my iPad that I’d always wanted to read; one of them being Alice’s Adventures in Wonderland. As I read, I had my own imagery for the book so I decided this was going to be my inspiration for an ongoing series of prints that I would base around the text. In these designs I can play with typography, fonts, text manipulation and illustration techniques to convey the scenes. I can also explore the overlaying patterns that I love creating – all with only 4 colours (4 colours was the goal but that didn’t always prove to be the case).
My pack finally arrived from Japan, and I eagerly started on my first design ‘it begins’ in which the words slowly drift from the page and become a dream; daisies float from the ground to the sky and the white rabbit runs from the page.
I loved every minute of carving these plates, the only problem was I couldn’t print anything until the house was sold, settled and we’d moved into our new abode – nearly 6 months away. Let’s just say I wouldn’t recommend this no printing technique because when I finally got to print – some things worked, and some things really DIDN’T work.
I know for someone who is more experienced than me they would be able to produce quality prints from the blocks I have carved but for me at this time I can fully appreciate the years of training it takes to produce this beautiful complex Japanese artwork. You really require a vast knowledge of inks, pastes, colours, viscosity, papers, baron and brush techniques, even the setup for your bench is a discipline I’m still struggling with; the videos can only take you so far. I really need to be physically shown the process – is my paper too damp or not damp enough? How do I get the fine sharpness of line? How do I understand the opacity of a colour? Is the paper I’m using going to give me the look that I desire? Am I cutting deep enough into the wood? Is the wood I’m using good enough to obtain the look I want? Am I layering it properly between prints? How can I get the clean crisp print with no smudges or overprinting? Do I really need to print 50+ prints just to get 25 good ones? How do you stop the large blocks of colour being blotchy? I should be able to print reversed out text but mine is unreadable.
I’m going to pursue this beautiful art form, but I’d really love a hands-on teacher to show me where I’m going wrong. In the meantime, I love designing each plate and exploring a different style. I love carving but I’m yet to really enjoy the printing process hopefully that will come with time.
So, this is why in the journey of my art has suddenly changed to printing.
As I spoke of previously in “An explanation of this new art” I had become frustrated with the traditional Japanese woodblock printing process. I’d really enjoyed designing and making the blocks, but I had so many problems with the printing process. It would take me days to print them and my success rate at best was 50%. So, I stopped printing for a while so I could think about how I could tackle this problem.
A full year after not printing I decided to have another go but this time using the block printing method of a roller and block printing inks. No more damp paper. No more paste or gouache. No more experimentation with different papers. Just a roller, block inks, a limited colour palette and whatever set of 10 papers I had on hand.
So, the palette is now CMYG – cyan, magenta, yellow and gray – it’s so much easier to work with. I love the strong colours and reference to the commercial printing process that I’ve worked with my professional life. The ink and roller are much easier to use and I’m able to create a fairly consistent print where you can read the text even if it’s reversed.
Plus, I’ve learnt to have a new perspective thanks to Tash the studio manager at Blender; to not expect commercial quality prints and to not be so hard on myself about expectations. So needless to say, I’m very happy with how these have turned out.
See more Mokuhanga: Focus on the process


